Last updated: April 17, 2026
Key Takeaways for Freedom CAD DFM
- Keep components away from board edges, apply 3W trace spacing, and place fiducials correctly to support reliable automated assembly in Freedom CAD layouts.
- Meet IPC Class 3 via rules with 2 mil minimum external annular rings, teardrops, and proper barrel fill to avoid long-term reliability failures.
- Use 3W spacing for high-speed traces, route next to ground planes, and follow IPC-2221C thermal relief guidance to protect signal integrity.
- Build symmetric stackups with balanced copper, tight power-to-ground coupling, and buried sensitive signals to reduce warping and improve EMI control.
- Work with Pro-Active Engineering for full DFM review and Valor integration, and get a quote when you are ready for zero-rework prototypes.
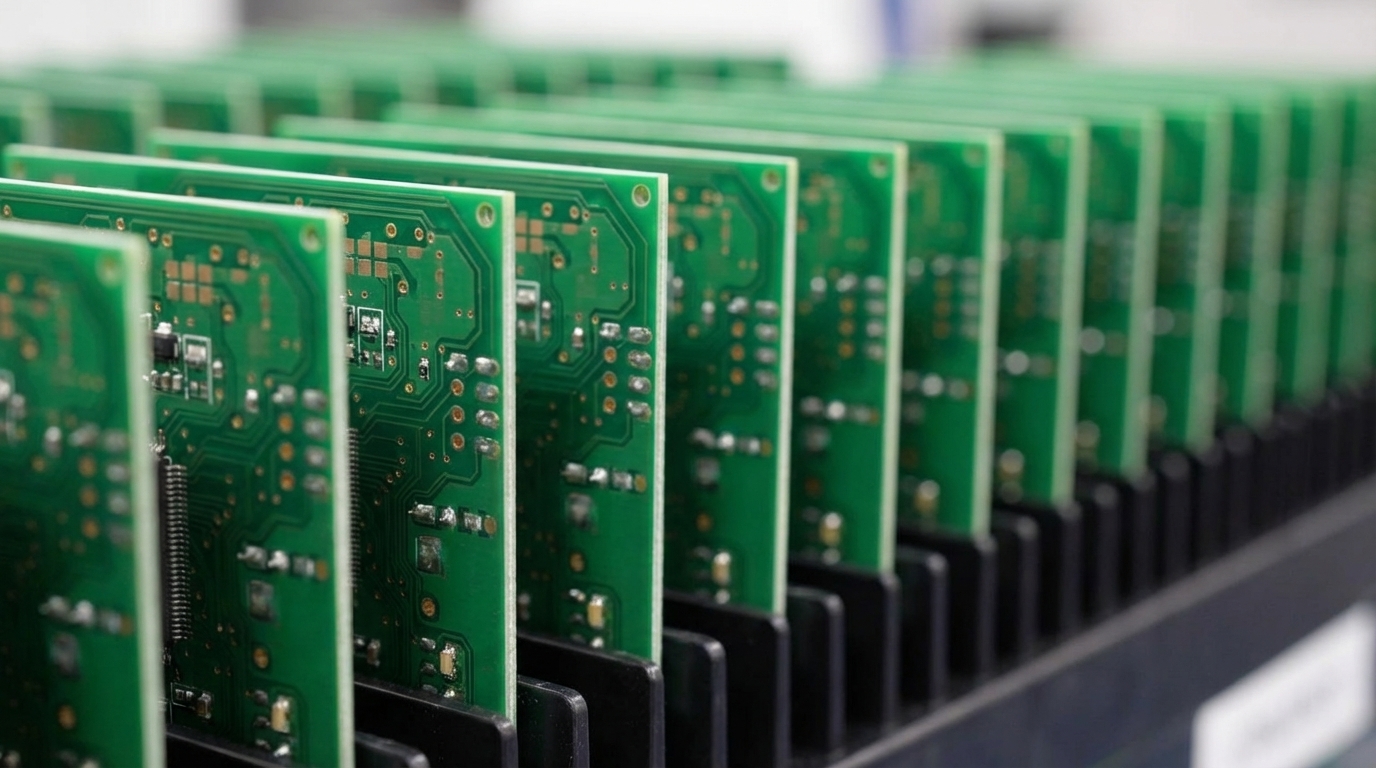
Component Placement Rules for Manufacturable Freedom CAD Boards
Component placement decisions set the tone for how smoothly your Freedom CAD design will build. Follow these placement rules to prevent assembly failures and support automated pick-and-place.
- Maintain minimum clearance from board edges for all components to reduce damage during depanelization and handling.
- Apply the 3W rule for trace spacing near components, keeping traces three times their width apart to limit crosstalk in dense areas.
- Place fiducial markers with the right diameter, non-plated, and with multiple per board so automated assembly equipment can align accurately.
- Group same-side SMT and through-hole components to streamline assembly flow and cut unnecessary processing steps.
- Orient polarized components consistently using standard orientations that reduce placement errors and inspection time.
- Plan panelization early by considering board edge clearance and material usage while you place large and fragile parts.
Freedom CAD DFM Checklist: Start by confirming that component placement meets edge clearance rules to protect parts during handling. Next, check that fiducials are correctly sized, non-plated, and positioned for clear machine vision. Finally, verify that all polarized components share consistent orientation so assembly teams do not fight avoidable placement mistakes.
Pro-Active Success Story: A defense contractor’s EMI-sensitive aerospace board reached 100% first-pass yield after Pro-Active’s DFM review refined fiducial placement and removed assembly alignment issues during automated placement.
Via and Annular Ring Guidelines for Class 3 Reliability
Once components sit in the right locations, the next priority is how those pins and pads connect through the board. Via design strongly affects PCB reliability and manufacturing yield in Freedom CAD layouts.
The table below summarizes the minimum external annular ring requirement for common plated through-hole drill sizes in Class 3 designs. It highlights that all drills in this range share the same 2 mil external annular ring requirement with no breakout allowed.
| Drill Size | Class 3 Min Annular Ring | Barrel Fill Requirement | IPC Standard |
|---|---|---|---|
| 8–20 mil | 0.050 mm (2 mils) on external layers, no breakout | Per IPC-6012F Class 3 | IPC-6012F |
Key via design rules for Freedom CAD:
- Avoid microvias unless density demands them, because stacked or staggered microvias raise cost and manufacturing risk.
- Add teardrops at via and pad connections to reinforce trace-to-via transitions and reduce cracking from thermal or mechanical stress.
- Use via tenting only where it fits assembly and environmental needs, such as protecting vias under BGAs or in harsh conditions.
- Specify sufficient plated copper thickness inside vias for Class 3 high-reliability builds, especially in aerospace, defense, and medical projects.
Freedom CAD Implementation: In Freedom CAD’s design rules, set the minimum annular ring to meet IPC Class 3 requirements, then tie via drill sizes to IPC-6012F limits for your chosen reliability class.
DFM Checklist: Confirm that every via meets the external 2 mil annular ring requirement with no breakout. Check barrel fill and plating thickness against Class 3 expectations, and align via sizes with your fabricator’s drill capabilities.
Trace Routing and Clearance Rules for Signal Integrity
Trace routing choices control signal integrity and long-term electrical reliability. Apply these routing rules in Freedom CAD to support high-speed and high-reliability performance.
- Maintain 3W spacing for crosstalk control, separating high-speed traces by three times their width to cut electromagnetic coupling.
- Route high-speed signals next to continuous ground planes to control impedance and shrink loop area.
- Follow IPC-2221C minimum clearance rules for voltage-based spacing between conductors so the board passes inspection and testing.
- Use thermal reliefs on power and ground connections to make soldering consistent while maintaining solid electrical paths.
- Apply controlled impedance calculations when you set trace widths and clearances for critical signals such as DDR, PCIe, or high-speed serial links.
Pro-Active Thermal Innovation: Pro-Active’s silver sintering technology improves thermal performance for high-power designs and lowers thermal resistance compared to conventional assembly. Discuss thermal solutions with Pro-Active for your next Freedom CAD project.
Layer Stackup and Thermal DFM for Stable Boards
Layer stackup decisions influence warping, EMI behavior, and signal integrity. Smart stackup planning in Freedom CAD supports both mechanical stability and clean high-speed performance.
The comparison below shows how 6-layer and 8-layer stackups handle reference planes and power-to-ground spacing. Both approaches can deliver strong EMI performance when signals reference nearby planes through thin dielectrics.
| Layer Count | Configuration | PWR-GND Spacing | Design Benefit |
|---|---|---|---|
| 6-layer | Signal adjacent to GND/PWR planes | Thin dielectric for coupling | Improved EMI suppression with fewer layers |
| 8-layer | Dedicated reference planes | Thin dielectric for coupling | Stronger signal integrity and routing flexibility |
Stackup design principles:
- Maintain mechanical symmetry with balanced copper and dielectric thickness across the stack to limit warping.
- Place power and ground planes close together to increase plane capacitance and improve power integrity.
- Bury sensitive signals between ground planes in stripline structures to shield them and reduce EMI.
- Add copper pours in sparse areas to balance copper without creating large, unintentional antennas.
Freedom CAD Stackup Editor: Use the stackup editor to balance copper across layers, set dielectric thicknesses, and keep the structure symmetric from top to bottom.
Valor DFM Integration for Freedom CAD Workflows
Valor DFM integration brings manufacturing checks directly into your Freedom CAD process. Consistent use of these steps improves DFM coverage before release.
- Export designs in IPC-2581 format so stackup, drill, and assembly data move cleanly into Valor.
- Run automated DRC checks to catch routing violations, clearance problems, and process constraints early.
- Configure Valor rule sets around your fabricator’s processes and your reliability targets.
- Review violation reports in a structured way and resolve high-risk issues before production transfer.
Valor DFM Freedom CAD Workflow: Export your Freedom CAD design as IPC-2581, import it into Valor DFM, run full rule checks, then fix flagged items back in Freedom CAD before final signoff.
IPC Compliance and Documentation for Consistent Builds
Clear documentation supports consistent manufacturing and regulatory compliance across builds and revisions. These documentation practices keep quality and traceability on track.
- Call out IPC-A-610 Class 3 workmanship standards for zero-defect, high-reliability assemblies.
- Include accessible test points for design-for-test so production teams can perform complete electrical validation.
- Document stackup details with materials, thicknesses, and impedance requirements clearly listed on fabrication drawings.
Why Pro-Active Engineering Strengthens Freedom CAD Designs
Pro-Active Engineering builds DFM into every stage of the design-to-production workflow instead of treating it as a final check. Three decades of experience in defense, aerospace, and medical projects help Freedom CAD layouts move smoothly from prototype to volume production.
Integrated Capabilities:
- DFM review included with every quote request
- 2–5 day Speed Shop prototyping that uses production processes
- Advanced thermal management and interconnect solutions
- ITAR-compliant, AS9100-certified manufacturing
Defense Success Case: A Tier-1 defense contractor reached 100% first-pass yield on a complex 8-layer board after Pro-Active’s integrated DFM review flagged critical via placement and thermal issues during the first design pass.
Upload your Freedom CAD files for DFM analysis and see how Pro-Active’s process improves your next project.
Frequently Asked Questions
How does Pro-Active help Freedom CAD layouts avoid assembly failures?
Pro-Active applies DFM reviews from the first file upload through final production transfer. Manufacturing specialists examine component placement, via reliability, and thermal behavior during the design phase. They share specific feedback and corrections before fabrication so Freedom CAD layouts reach first-pass success more consistently.
What is the 3W rule in Freedom CAD DFM guidelines?
The 3W rule states that trace spacing should be three times the trace width to reduce electromagnetic interference and crosstalk. For instance, a 5 mil trace should sit 15 mil away from neighboring traces. This spacing rule matters most for high-speed signals in dense Freedom CAD layouts.
What are the recommended Freedom CAD fiducial marker practices?
Freedom CAD fiducial markers should use a suitable diameter, remain non-plated, and appear in multiple locations on each board for reliable alignment. Place them asymmetrically to avoid rotation mistakes during pick-and-place, and keep them clear of components so assembly cameras can see them.
How does the Valor DFM Freedom CAD workflow operate?
The Valor DFM workflow starts when you export your Freedom CAD design in IPC-2581 format, which carries stackup, drill, and assembly data. You then import that file into Valor DFM, select rule sets that match your manufacturing process, run checks, and review the resulting reports. You correct issues back in Freedom CAD before final approval and production release.
What are IPC Class 3 annular ring requirements for vias?
IPC Class 3 requires a minimum 2 mil external annular ring with no breakout, as shown in the via guidelines table above. Class 3 also calls for adequate through-hole barrel fill and plated copper thickness inside vias, which supports mission-critical aerospace, defense, and medical devices where field failures are unacceptable.
How can I reduce warping in Freedom CAD stackup designs?
Reduce warping by keeping the stackup mechanically symmetric with balanced copper and dielectric thickness across layers. Use the Freedom CAD stackup editor to balance copper pours, place power and ground planes close together, and keep material properties consistent. Add copper pours in sparse regions to maintain balance while avoiding large, resonant shapes.
Apply these Freedom CAD DFM rules to reach high-yield layouts and smooth production transitions. Partner with Pro-Active Engineering for de-risked prototypes and dependable manufacturing, and start your project with a custom quote when you are ready to move forward.